|
8/28/2013 1 Comment Fondant Tiara Tutorial From fairy tales to fair maidens, no princess is complete without a tiara. Here are some simple directions for making a fondant tiara to top any royal cake. 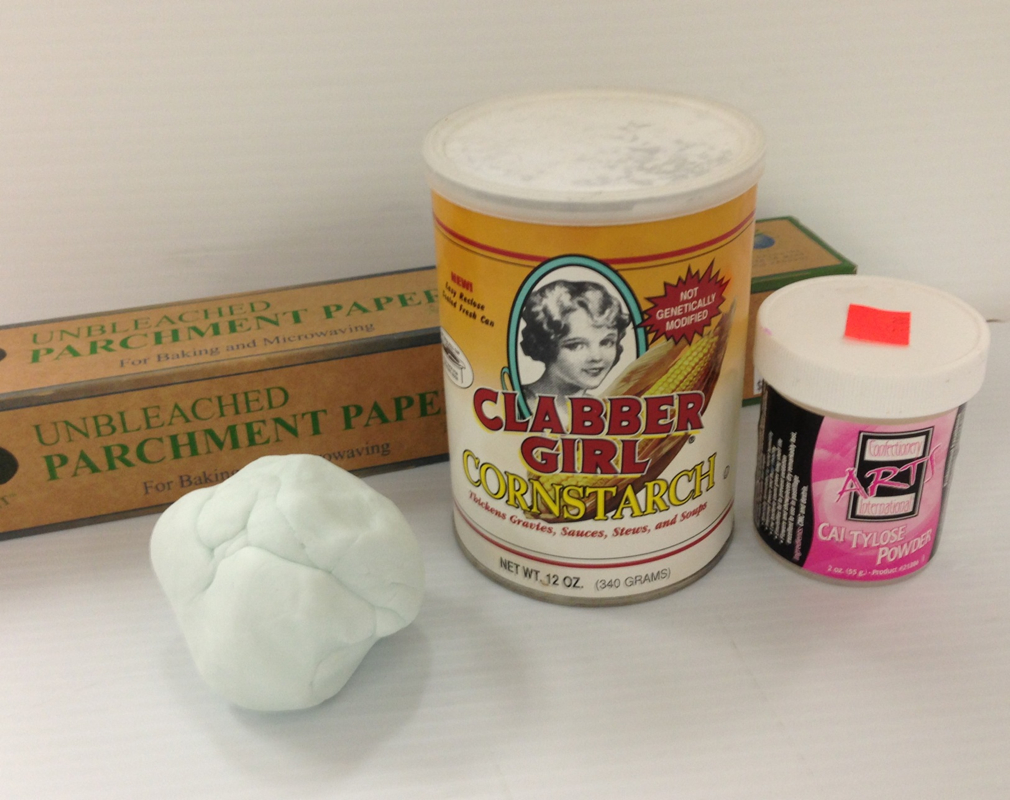 What you will need: Parchment paper Can (size of what you want the tiara to be) Fondant Tylose powder Water Paintbrush Dowels 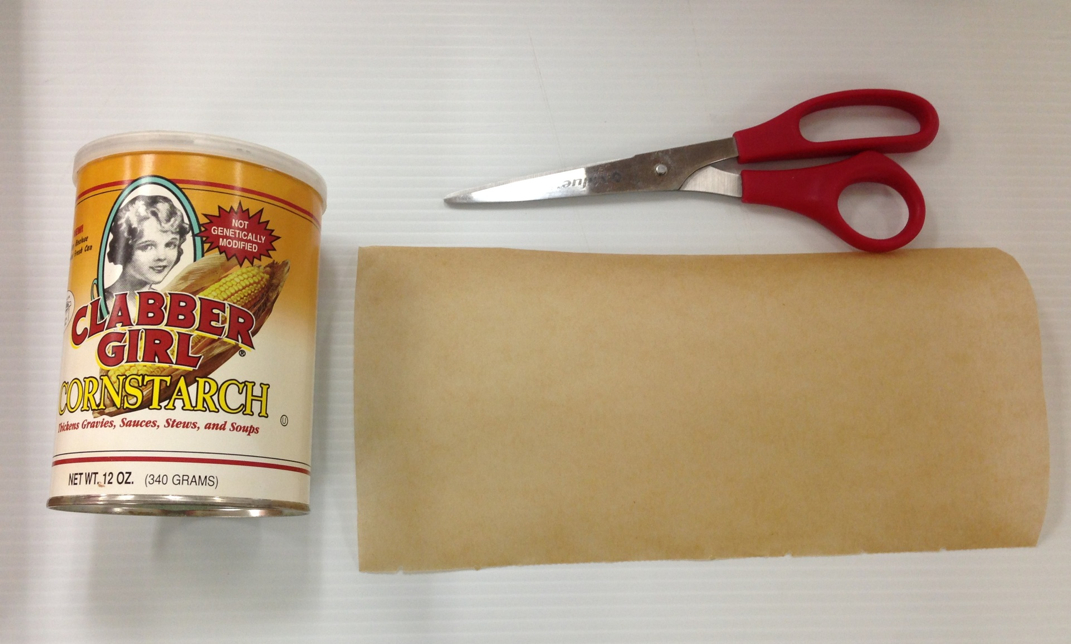 Cut the parchment paper long enough to wrap around the can.  Secure the parchment paper in place with tape. My top cake is 4" so I chose a can with a 3 1/2" radius. 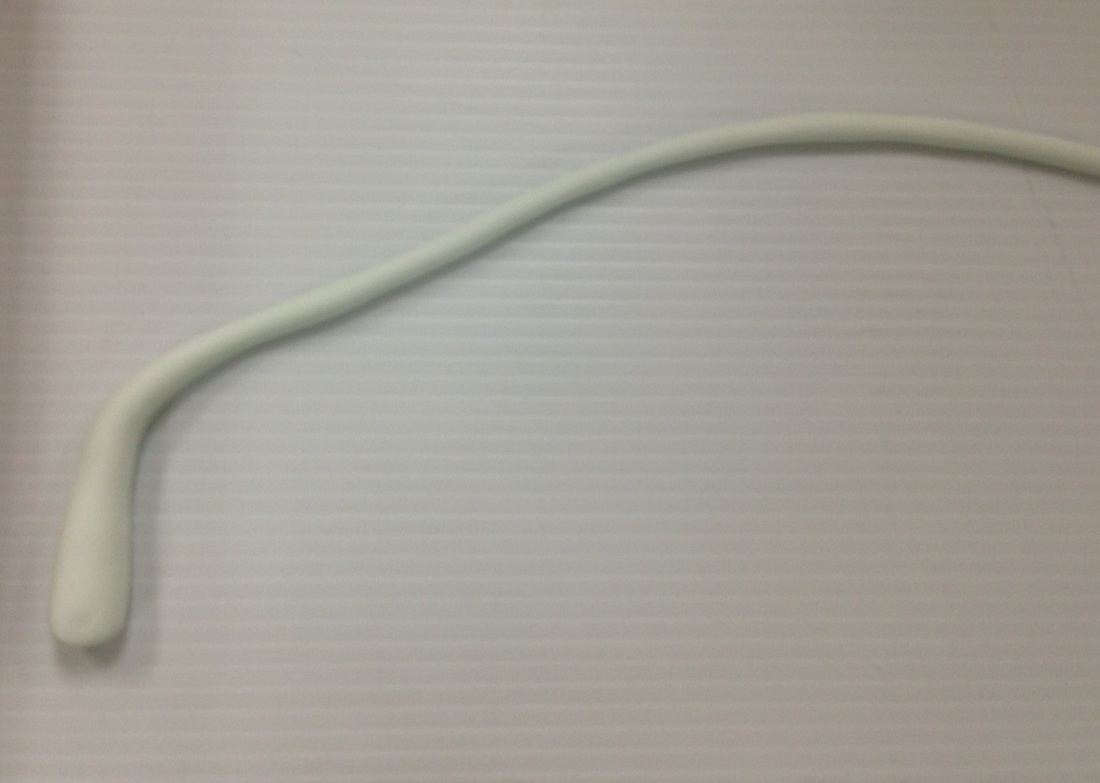 Add a pinch or two of Tylose powder to the fondant and knead. Tylose powder makes the fondant dry harder and faster. After kneading roll the fondant into ropes (snakes) and place along bottom of can. This will become the base of the tiara. 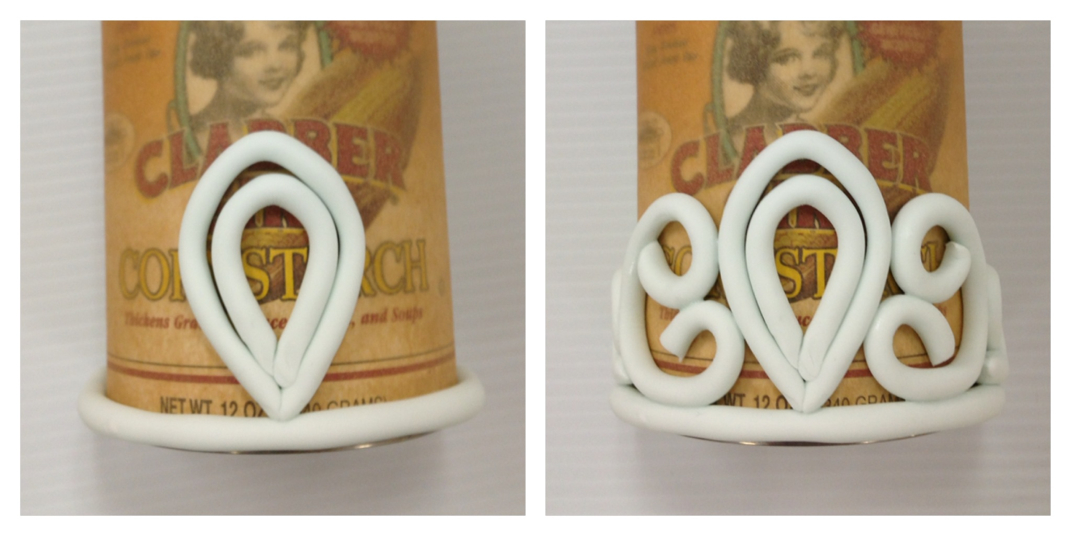 Roll out more fondant ropes and layer to create designs. To glue pieces together, add a pinch of Tylose powder to a tablespoon of water. Using a paintbrush apply the mixture. Wait 15 seconds for the glue to become tacky, then apply pieces. As you continue adding pieces along the sides you may need to hold them in place until the glue starts to set. 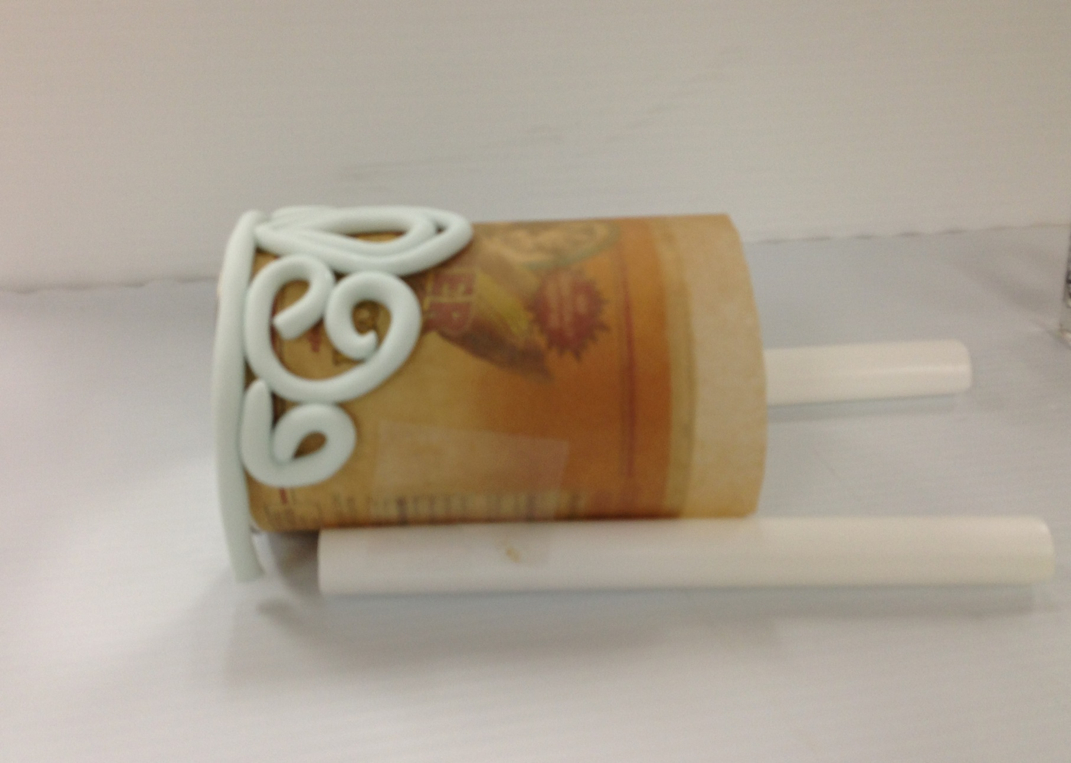 Don't let your hard work roll away! Tape dowels on either side of the can. Sit in a safe place and let dry for 1-2 days. 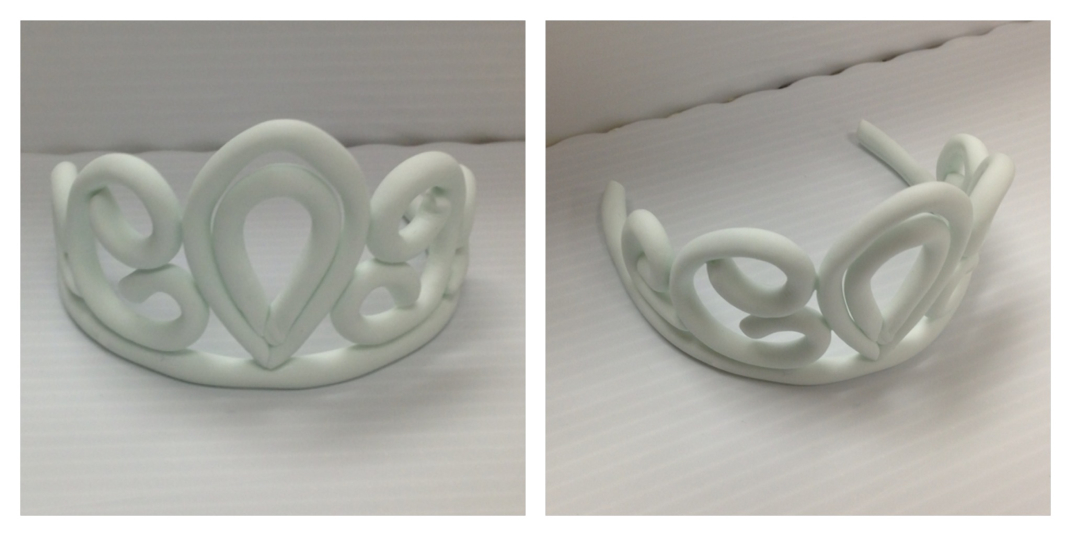 After drying it's time to accessorize! Paint with luster dust, place on pearls, add isomalt jewels or piping to customize the tiara to your princess. Make sure to secure the tiara to the cake with buttercream or royal icing. 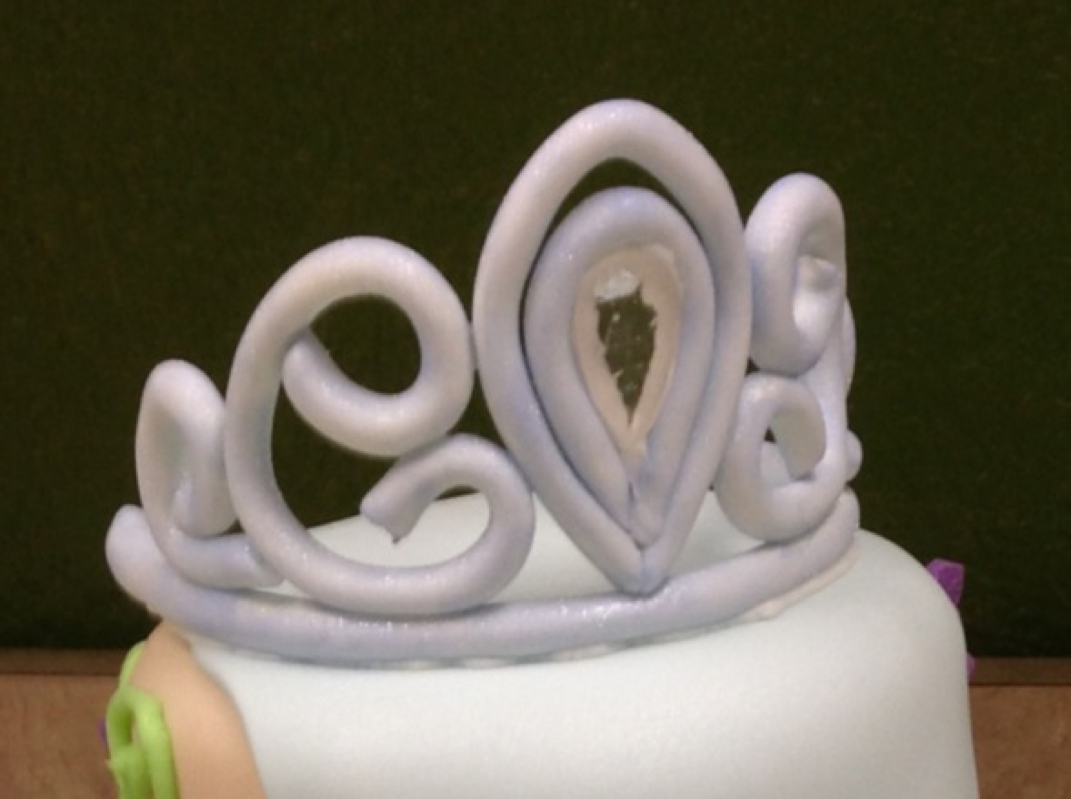
1 Comment
8/15/2013 4 Comments Pretzel Bark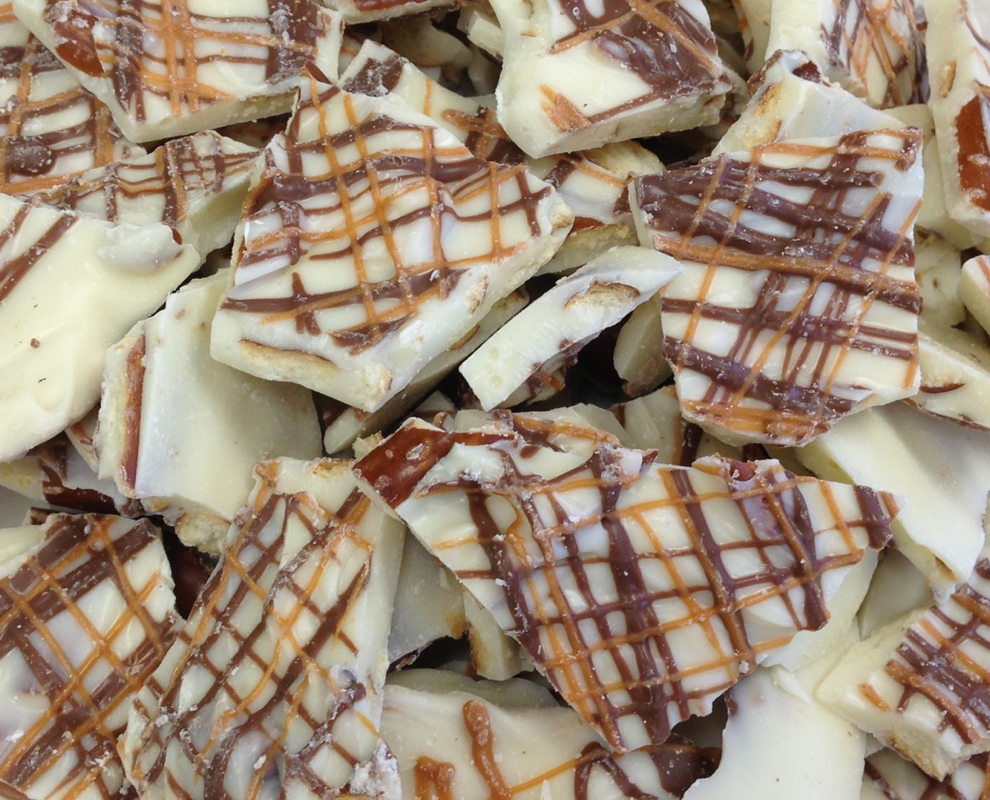
Pretzel bark is a great treat to satisfy that salty sweet craving. With just 4 ingredients and 15 minutes it makes a perfect quick party treat. Here is what you'll need: 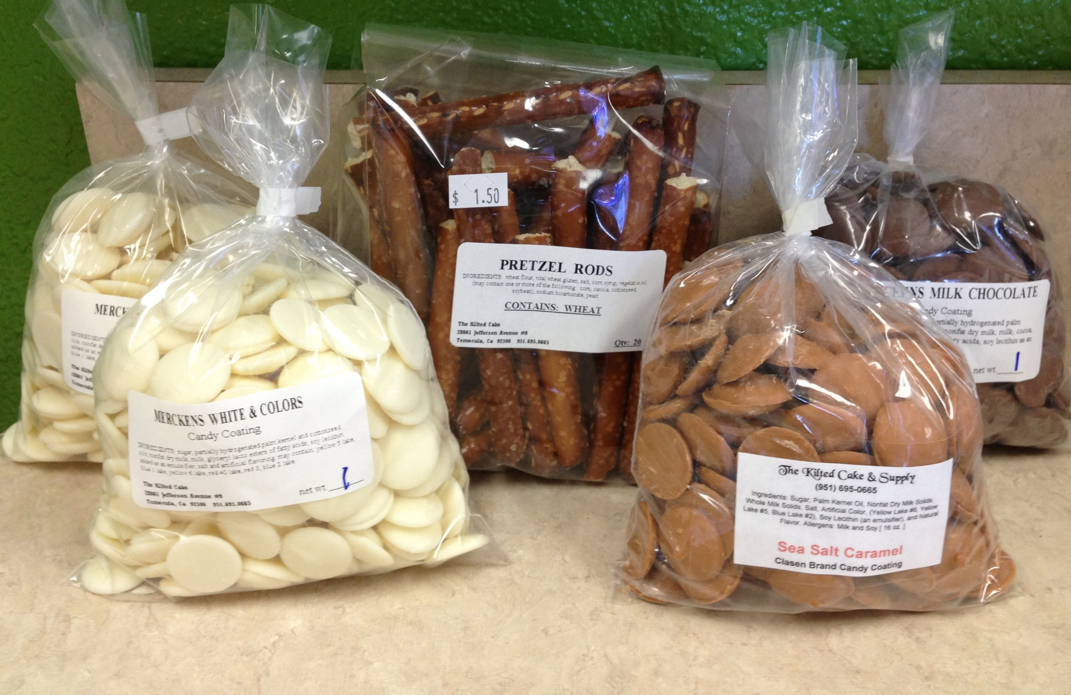
Pretzel bark is a great treat to satisfy that salty sweet craving. With just 4 ingredients and 15 minutes it makes a perfect quick party treat. Here is what you'll need: Ingredients: 2lbs Merkens White Chocolate 1 bag pretzels (doesn't matter if they're broken ones, your gonna crush them anyway) Merkens Milk Chocolate Sea Salt Caramel Chocolate Supplies: Parchment paper Cookie sheet or board Plastic or glass container 2 disposable piping bags Spoon Directions: Place 2lbs white chocolate in a plastic or glass container and melt in the microwave using 15 second intervals. Make sure to stir each time. Do not go over 15 seconds or you risk burning your chocolate. Crush up your pretzels into smaller sized pieces. Make sure you still have pieces and not powder. Add crushed pretzels to the white chocolate and stir. How much is up to you, the more pretzels the crunchier the bark. Place a piece of parchment paper on top of a cookie sheet or cake board. Pour out mixture on top and spread around. You can make the bark as thin or thick as you like. Just try to make it no thicker than 1/4 inch it will be harder to bite through. For drizzle: Now lets make it pretty! Melt milk and sea salt caramel chocolate in disposable piping bags. (Don't worry it won't melt the bag), using the same 15 second intervals in the microwave. I like to place the bags inside of a cup so they don't fall over. Instead of stirring, massage the bag each time. After it is all melted, snip of the end of the bag with scissors and squirt over the bark in a zig zag pattern. Layer the milk and sea salt caramel drizzles over the top. Place in the fridge for 10 minutes or until chocolate is hardened. Pull the bark off of the parchment paper and break into smaller pieces. Place in large bowl for snacking or place in bags for easy party favors or gifts. Most of all, ENJOY, you are eating chocolate!!! 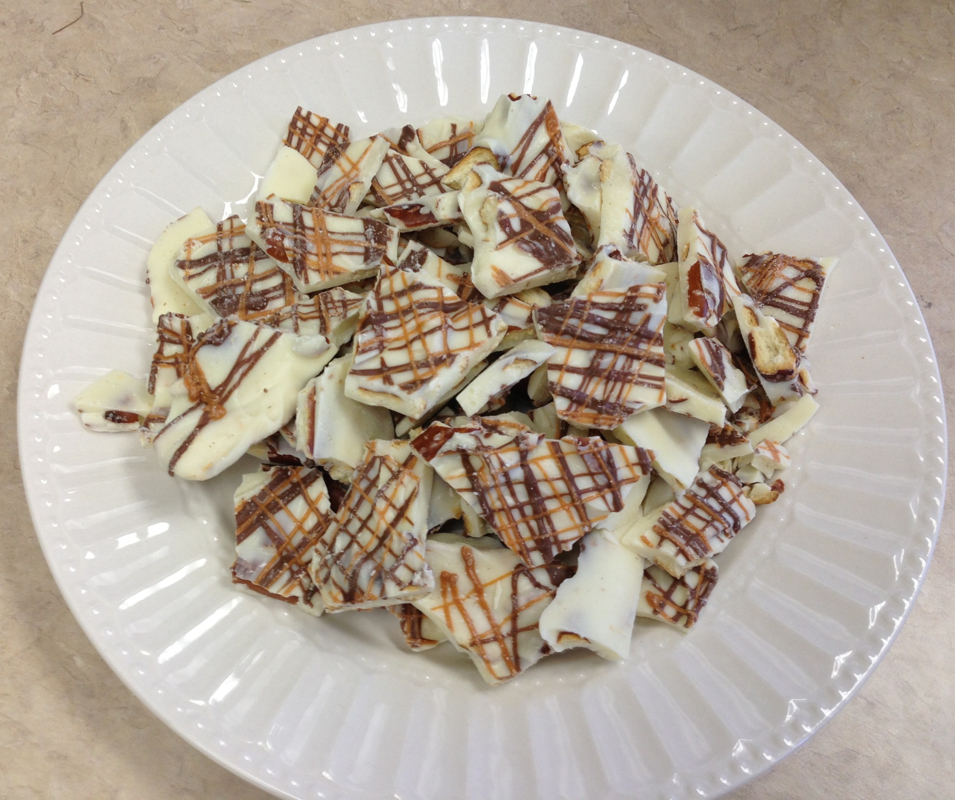
|
Kilted Blog
Here is where we like to share our knowledge and love of decorating with you! Keep checking to see what's new, recipes, decorating ideas, and more. Archives
July 2018
Categories |
 RSS Feed